Moray New is the perfect compliment to the Old Course, with narrow fairways and plenty of bunkers to provide a challenge to even the best player. The course features a variety of holes with some short par 3’s all the way up to long 3-shot par 5’s. The difficulty of the course lies in the positioning of the fairway bunkers, which are almost always placed at your driving distance. Here, course management is key, so read below for our full hole-by-hole notes on Moray New Course. And good luck, if you’re heading to play Moray New soon!
Hole #1 – par 4
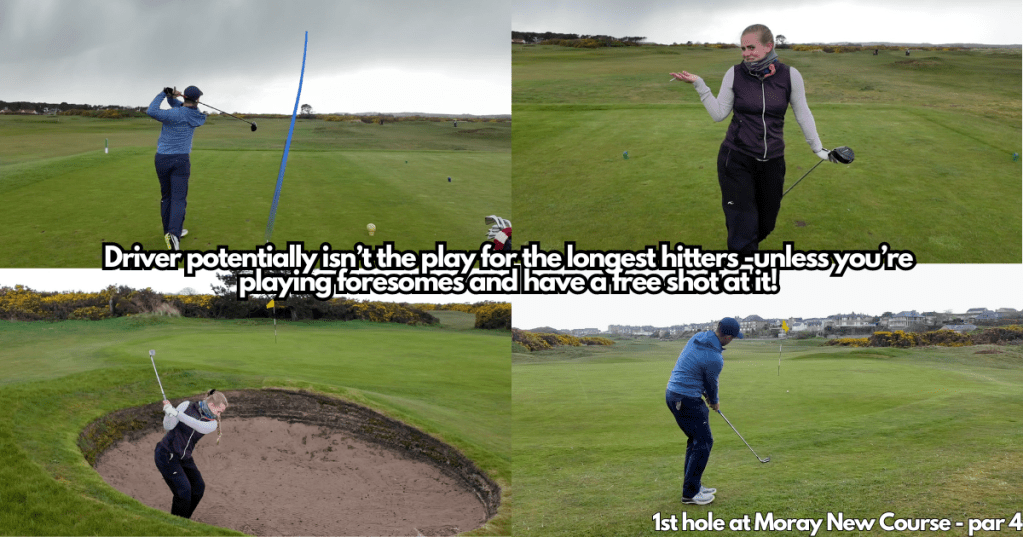
The first hole on The New Course at Moray Golf Club is a gentle opener at only 359 yards. There are a couple of sneaky bunkers on both sides of the fairway at around 230 yards. Normally, you would play to stay short of these bunkers to leave an approach inside of 150 yards. However, G hit a perfect drive, so in the greensomes format Cam was able to hit driver to get closer to the green.
Gorse lines both sides so it does get narrower the closer to the green you go. A couple of deep bunkers guard the green left and right meaning that an approach erring on the longer side is preferred.
Hole #2 – par 4
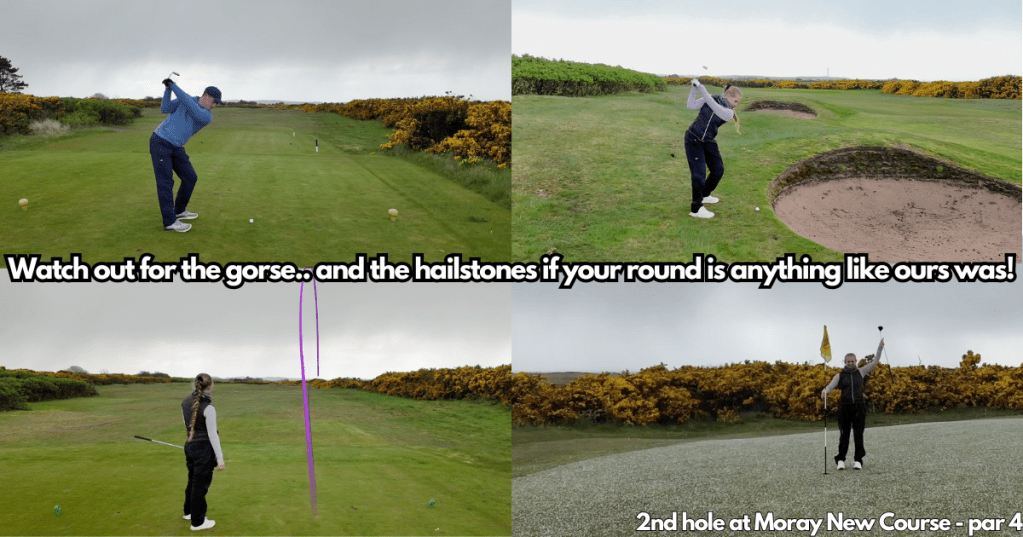
The second hole is one of the shorter par 4’s on the course. However, it plays incredibly tight from the tee meaning that a par is a great score. 3 bunkers line the fairway starting at 210 yards all the way up to 250 yards. A teeshot hugging the left side of the fairway at around 215 yards will be in perfect position.
Once you have navigated the teeshot, the approach is a little simpler. No bunkers surround the green and, except for a small false front, the green is relatively flat. The main difficulty of this hole is keeping your tee ball out of the gorse bushes that enclose this hole.
Hole #3 – par 5
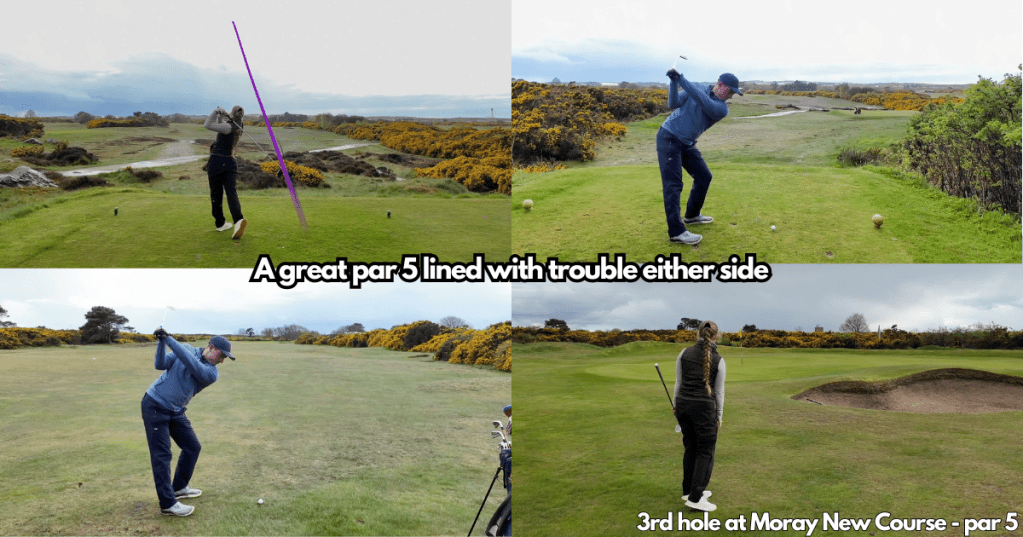
The third hole is one of only two par 5’s on the course. At 479 yards, it is not the longest hole even for the medium length player. The raised tee we played from gives a great view of the hole and the small bunker that is at the corner of the right to left dogleg. The dogleg is at around 250 yards and the teeshot is best played down the left half of the fairway and the slope propels the ball towards the right.
Up at the green, there are a couple of tiers to navigate, and you ideally want to make sure your shot is on the same level as the pin. The day we played it, the front pin made for a relatively straightforward approach shot, but you can see that a back pin would challenge even the best players.
4th hole – par 3
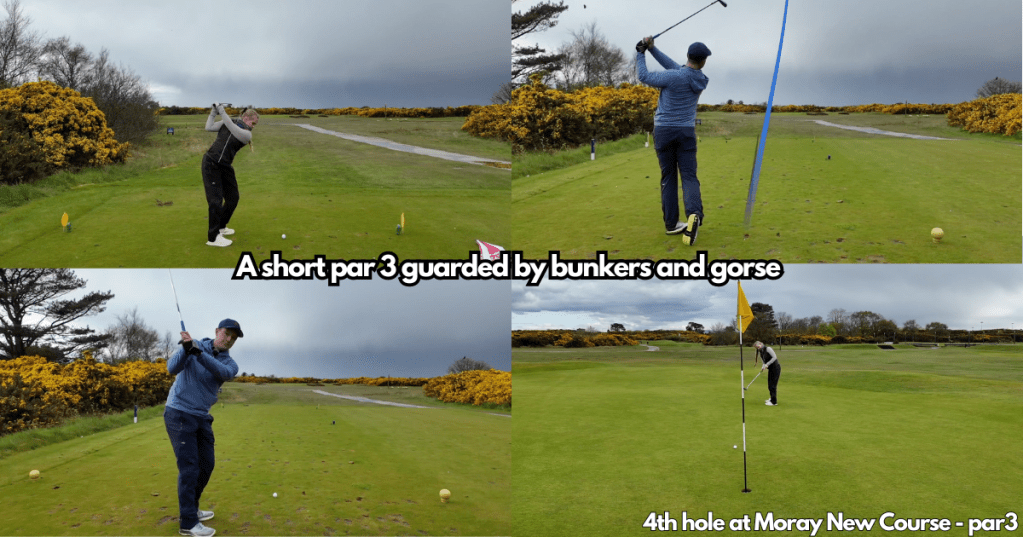
The fourth hole is a beautiful 132 yard par 3 into the corner. The green is surrounded by bunkers to the front and gorse at the back. Thankfully, we played on a day when the greens were receptive, so were able to hit high approach shots to the back pin. You can see this hole would play very challenging in the firm and fast conditions in summer as the entrance as the front of the green is very narrow.
5th hole – par 4
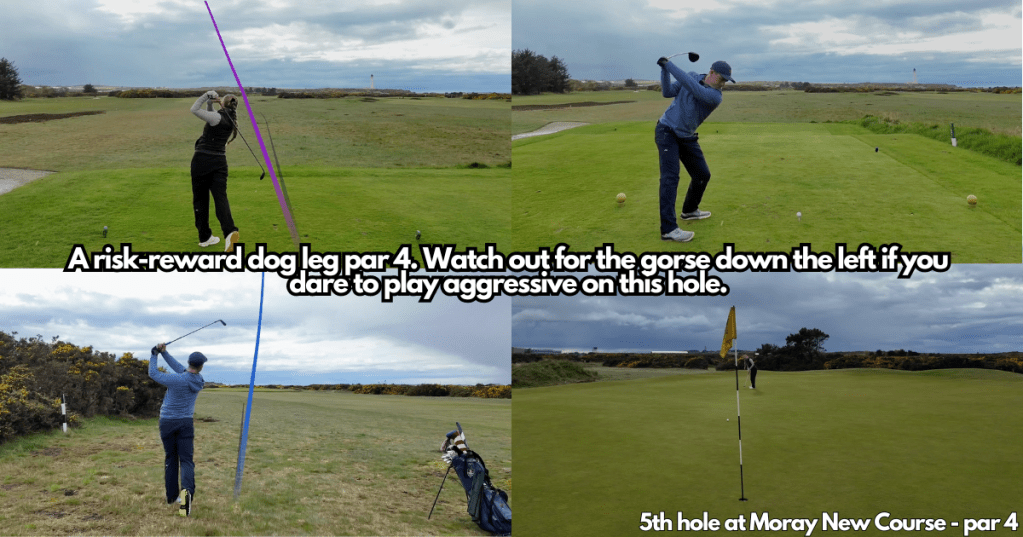
The fifth hole is a 371 yard par 4 that is lined by gorse bushes from 210 yards off the tee. This tee shot is definitely one of the trickiest on the course due to the tee being towards the right side, which makes it a slight left to right dogleg. Not a nice tee-shot for a drawers of the golf ball like Cam and G.
A safe tee-shot would be something no more that 210 yards to keep you short of all the gorse. This leaves a 170-yard approach over a deep burn at the front of the green. This is one of the largest green complexes on the course and slopes from front to back making it very tricky to control on the approach shot.
Hole #6 – par 3
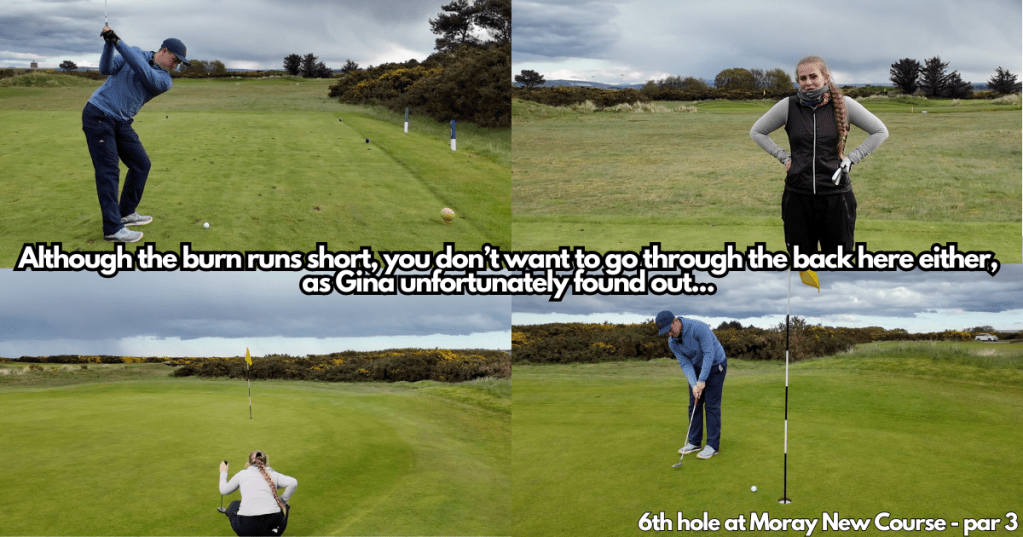
Hole six is the shortest hole of the course at only 100 yards. It is a straightforward wedge shot over the burn from the previous hole. Distance control is key here as there is thick grass through the green that G managed to find during our round here. A front pin may tempt you, but the middle of this small green will always leave you a good look at birdie.
Hole #7 – par 4
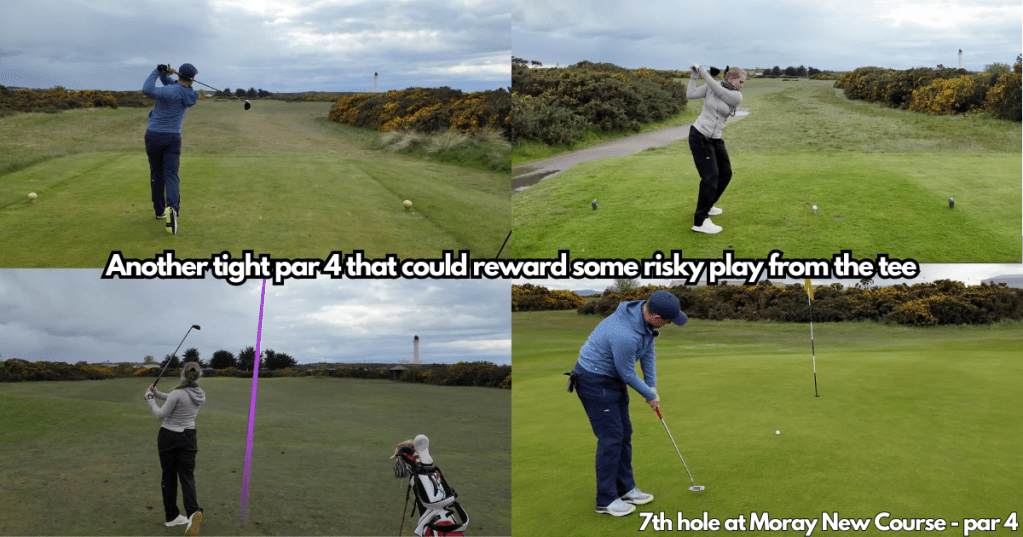
The seventh hole again is tricky off the tee. It is a long 421 yard par 4. Cross bunkers line the fairway at 240 yards and the fairway narrows past these bunkers. To lay up short of the bunkers to the widest part of the fairway at around 230 yards is the most sensible play. This would then leave an approach from 175 yards or so. Cam opted for the less safe play, hitting it straight over all of the bunkers, which left a very short approach shot for G in the greensomes format.
Bunkers are positioned level with the front third of the green so an approach shot past the middle ensures the ball will be above the ground for your third shot. Gorse hugs the back of the green quite closely meaning anything long risks getting prickly.
Hole #8 – par
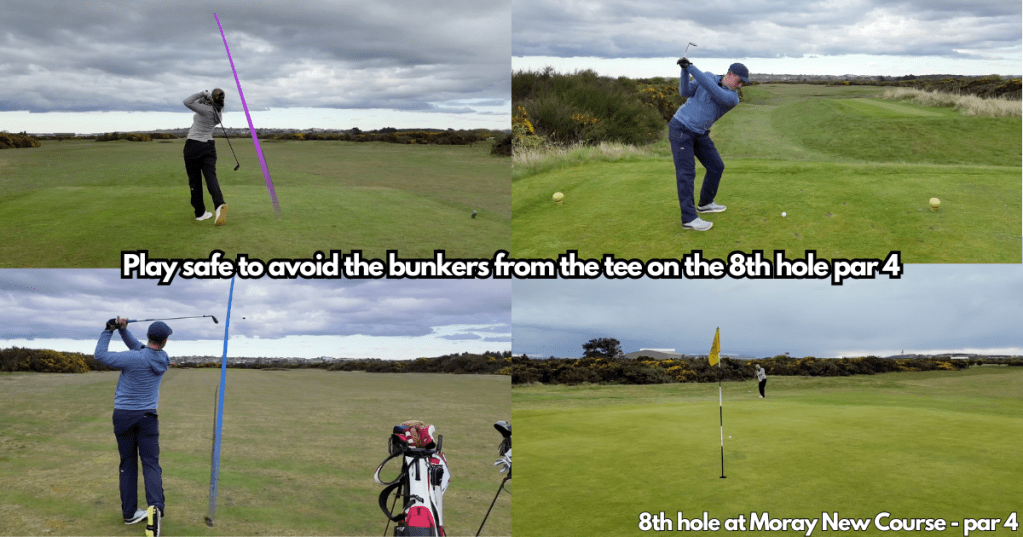
The eighth hole is a 432 yard par 4 and like the previous hole has cross bunkers at 250 yards. The fairway is very open in front of these bunkers meaning a 240-yard shot off the tee is perfect.
There is a bunker and mound short of the green meaning the approach is quite blind from the fairway. An approach to the right centre of the green is preferred as the green runs off on the left side.
Hole #9 – par 4
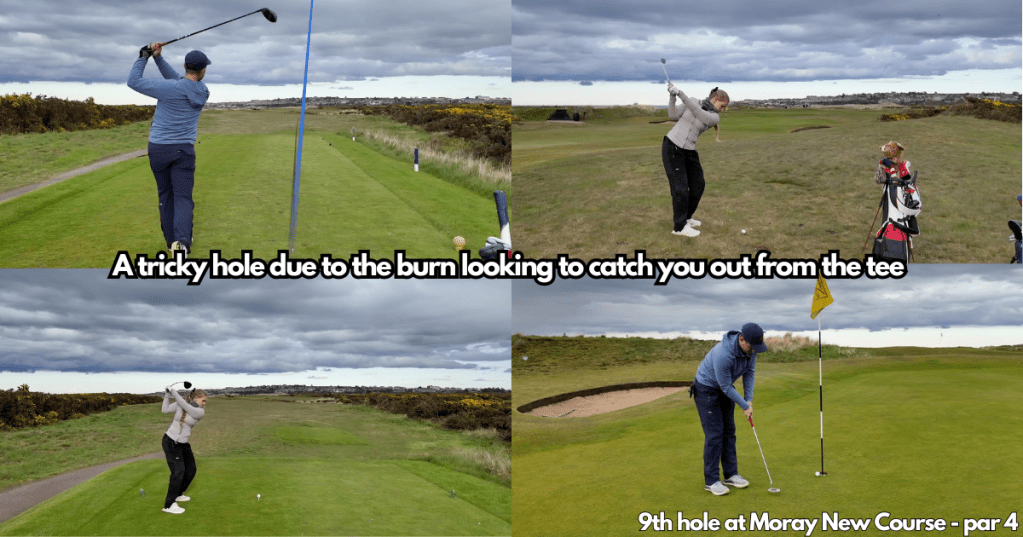
The ninth hole is a tricky driving hole over the burn that runs through the whole course. It crosses the fairway at an angle meaning the shortest and safest route is up the right-hand side of the fairway. The fairway slopes up from the tee and then, past the burn, it slopes back down towards the green. This means that In some places you will not see your tee shot land but that normally you will receive a helpful bounce forward.
On the day we played, this hole was downwind meaning that Cam could get his tee shot to within wedge distance. On the approach, the green has a helpful back stop but you should really play for the front third of the green to leave a flat or uphill putt.
Hole #10 – par 4
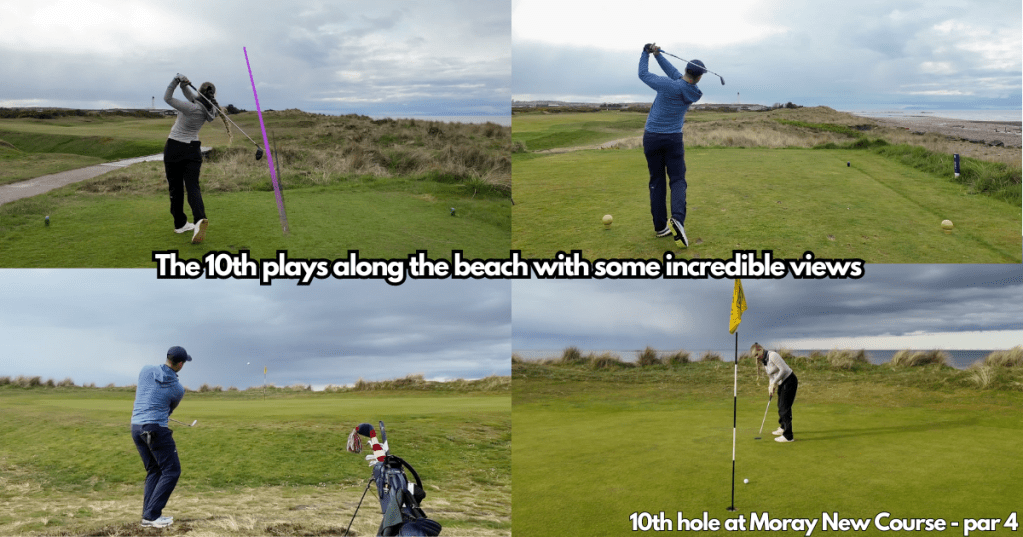
The tenth hole is an excellent 323 yard short par 4. It plays as a slight dogleg up to a raised green to the right. This is as close to the sea as you get on this course and the beach lines the right hand side of this hole.
Due to the narrow fairway, the standard play is a 220-yard tee-shot to the widest part of the fairway. As we played greensomes, Cam decided to hit driver up to the left of the green where there is a bit of space at around 300 yards. This is one of the rare holes on the course without a bunker, however, the green still plays very tricky as there is a sharp run off to the left side.
Hole #11 – par 3
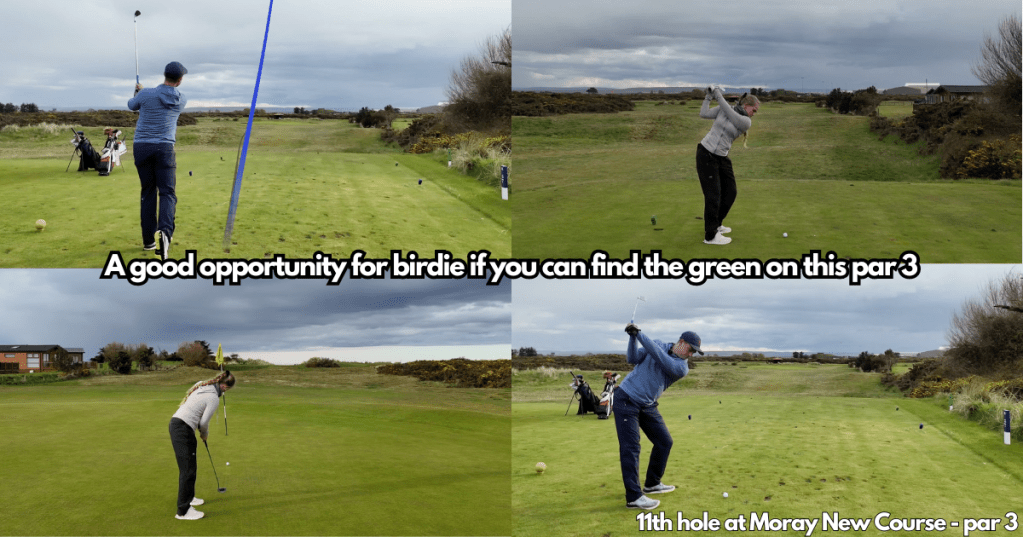
The eleventh hole completes the triangular loop of holes that start on the ninth. It is a 146-yard par 3 that is bordered by the holiday park to the right. The hole plays slightly downhill to one of the bigger greens on the course. The green is relatively flat meaning it is a good birdie opportunity if you can safely avoid the bunkers and find the green with your tee-shot.
Hole #12 – par 4
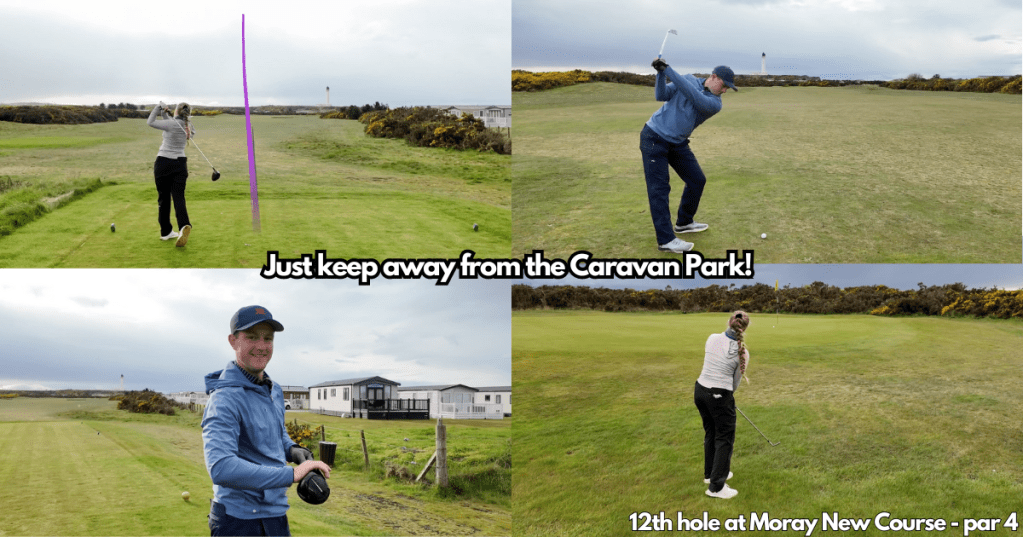
The twelfth hole is a long 431-yard par 4 that takes you all the way to the furthest extent on the property. There are two cross bunkers at 260 yards that you must either lay up to or attempt to hit over. Cam just managed to fly the bunkers and caught a nice downslope behind them leaving us with a short approach shot.
The green has a slight false front meaning it is best to fly the approach all the way. The green also slopes off to the right into a runoff, from which a delicate chip shot would be required to save par.
Hole #13 – par 4
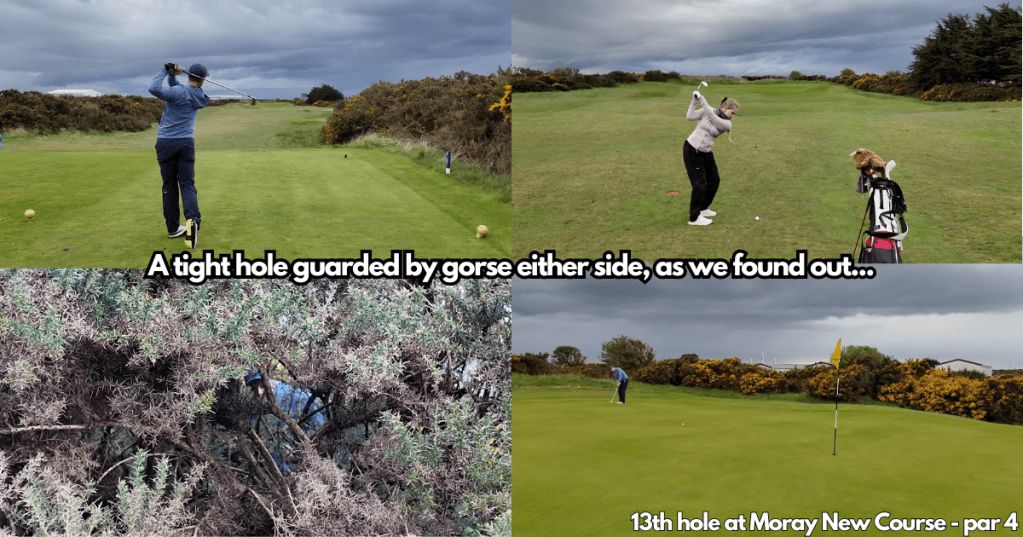
The thirteenth is my favourite hole on The New Course. It is 340 yards but due to the narrow fairway and significant slope at the green it plays very difficult. The fairway has a large slope that runs diagonally across it meaning there can be plenty of unpredictable bounces towards the gorse bushes that line the fairway. Usually, a tee-shot up the right centre will avoid the slope and leave a flat lie for the approach. A tee-shot down the left is likely to pitch into the slope and kick towards the left gorse.
The green is set about 10 yards above the fairway, with a large drop-off repelling any shots that come up a little bit short. We played our approach towards the back of the green which left a treacherous downhill putt to the front pin. A safe 2-putt left us heading to the next tee happy with a par.
Hole #14 – par 5
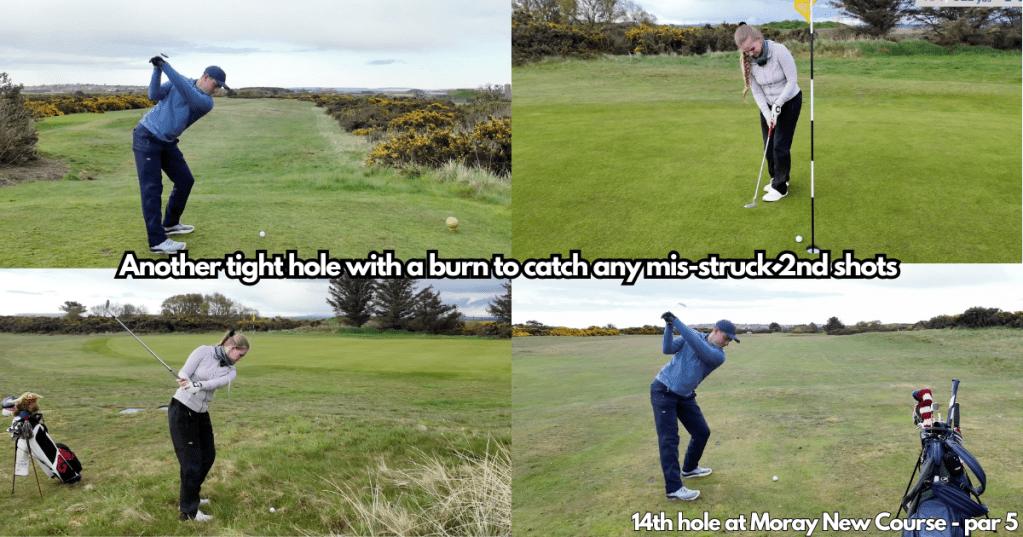
The fourteenth hole is the second and final par 5 on The New Course. It is 508 yards and plays slightly blind as the tee-shot plays over a ridge to a fairway that slopes downhill towards the green. The right side is preferred on the tee-shot as there is a hazard up the left beginning at 250 yards.
The burn crosses the fairway about 100 yards short of the green and needs some manoeuvring on the second shot. The approach looks very tight up at the green due to gorse bushes lining the fairway. However, they thin out up at the green and there is plenty of room for error if you attempt to hit this par 5 in two. This is another of the rare holes without a bunker, however, there is plenty of other trouble that captures your attention.
Hole #15 – par 4
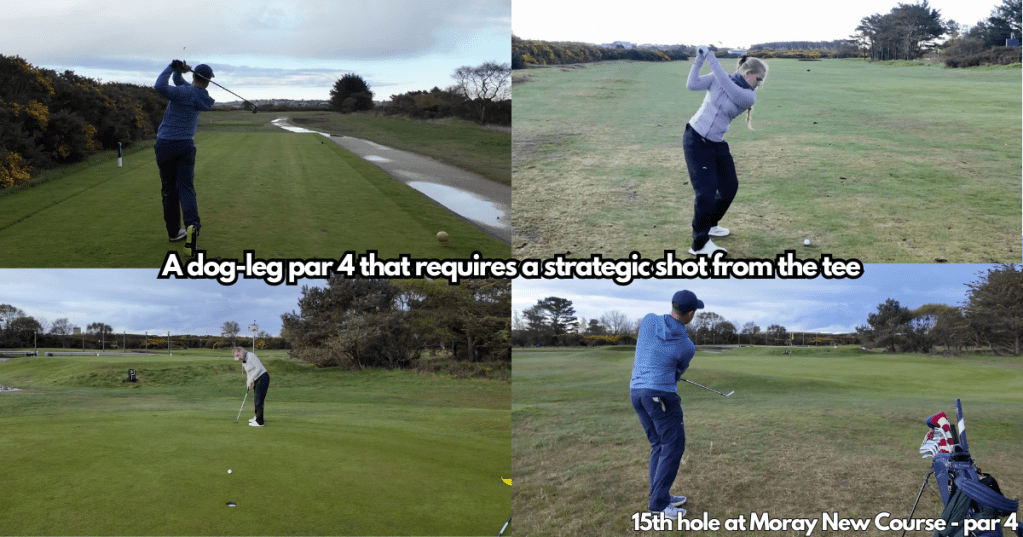
The fifteenth hole is a dogleg to the right that follows the curve of the main road. Trouble lines the right side so a tee-shot down the left is ideal. Bushes begin at around 260 yards down the left so something just short of these is normally perfect and will leave an approach of no more than 130 yards.
Coming from the left side of this fairway also opens up the green as there is a big greenside bunker that guards the front right. On the approach, heading towards the left side of the green is preferred as it is generally flat on that side and will leave a relatively simple chip or putt.
Hole #16 – par 4
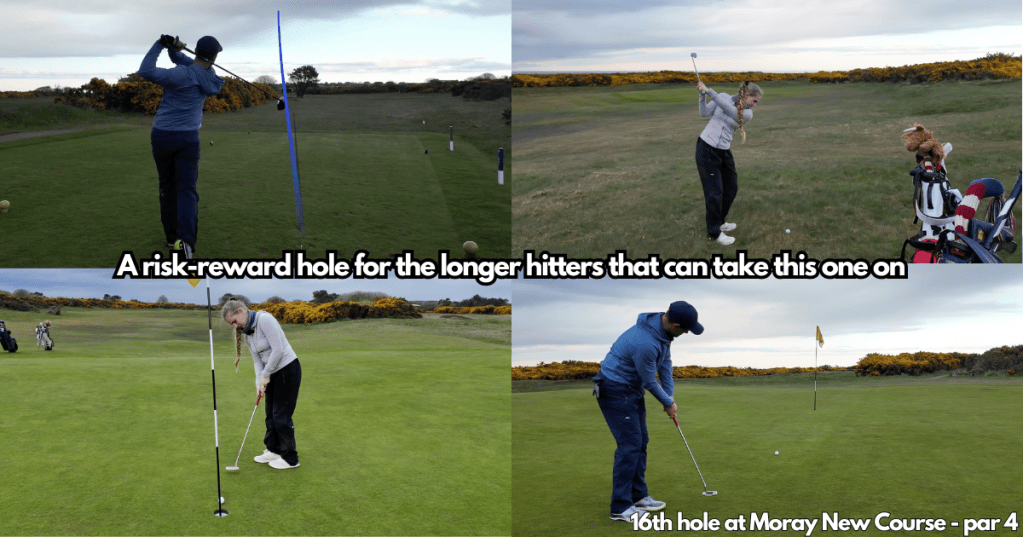
In my opinion the sixteenth hole is the most fun hole on the course. At first, it looks very tight and surrounded by bushes. You have no idea where to hit the ball and the uncertainty can sometimes lead to you playing more conservatively. However, you later realise that an aggressive shot to the left is the safest play. Past 250 yards, the bushes run out and are replaced by fairway and light rough. The hole is only 310 yards meaning that some of the longer hitters can get on the green.
The green and surrounds have some significant slopes meaning the approach must be well thought out. The green drops off at the front and back so the middle of the green is the ideal target if you have been left further back after the tee-shot.
Hole #17 – par 3
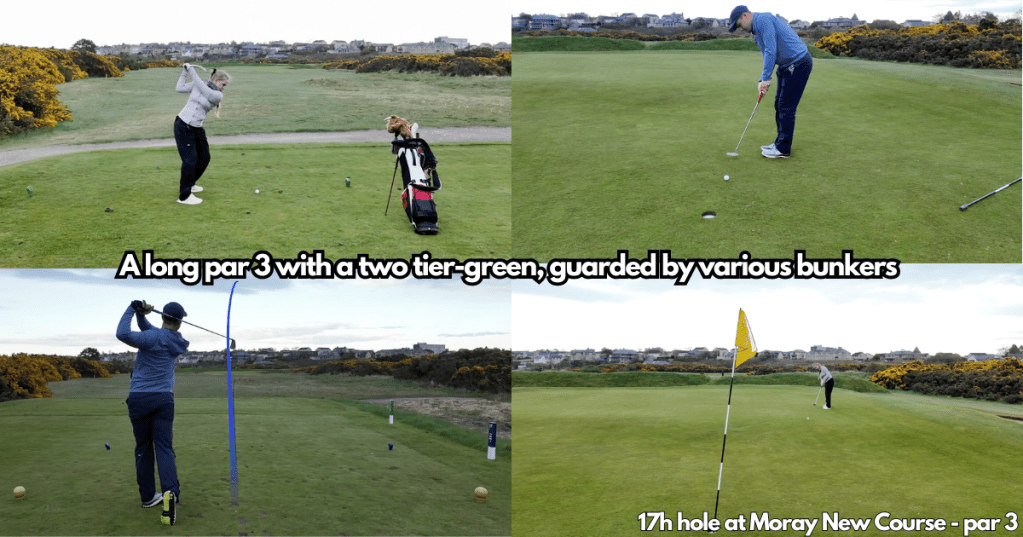
The seventeenth is probably the hardest par 3 on the course. It is the longest at 177 yards and has several bunkers surrounding the green. The green also has two tiers and, if you are left on the wrong one, it makes for a very difficult two putt.
I normally play to the front of this green as there is a steep run off at the back that quickly takes the ball towards some heavy rough. A par is a very good score on this hole.
Hole #18 – par 4
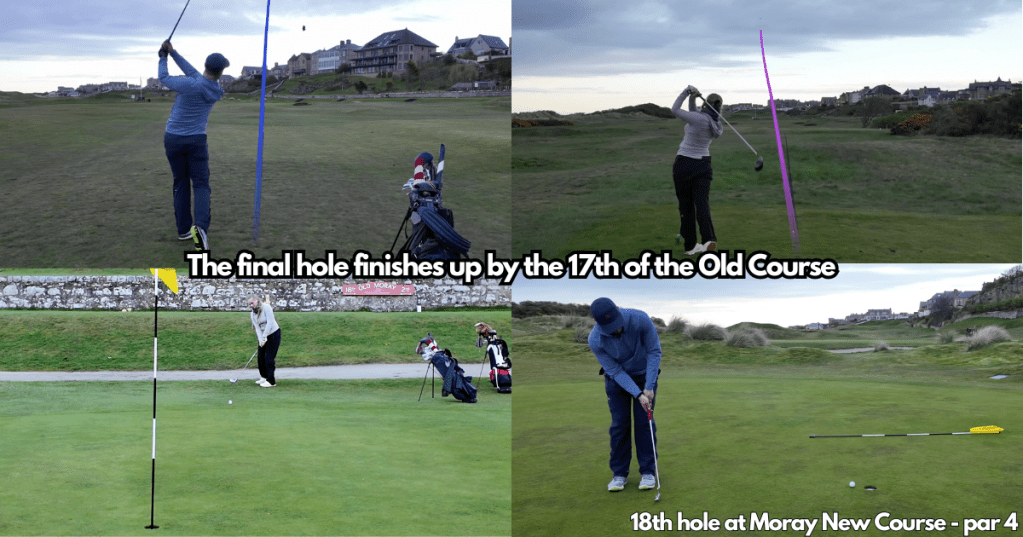
The final hole is a long 413-yard par 4. It is the widest driving hole on the course, but again has some cross bunkers around 260 yards. If you are able to hit over these, it is a massive advantage and will leave only a wedge for your approach. Over the bunkers, the fairway also joins up with the first hole which doubles the target size you have to hit.
The green is one of the largest and flattest on the course. Getting the distance control correct with the approach is beneficial to avoid leaving a long putt for your third shot. A small bunker guards the front right of this hole so heading slightly left on approach is preferred.
Want to read our blog post from playing Moray New course? Click here: https://cggolfs.wordpress.com/2024/06/16/moray-new-course-scottish-golf-course-3/
Want to watch our full round trying to break 70 at Moray New Course? Watch our YouTube video here: https://youtu.be/oDlf6TG0ouE